
It’s about time I start talking about some veg! Today’s subject matter is the wonderful courgette. I’ll ramble on about how to grow it from seed up until the harvest of this glorious vegetable!
In the next couple of days I’ll post a recipe for a courgette and mint dip but for now, here’s the process we use for growing them.
We keep seeds from a courgette that we grow for this purpose the previous year (I’ll explain that process at the end of this post). When the time comes, around the end of January-beginning of February, we plant the seeds in a pot (maceta in Spanish) with peat (turba). You can do this from January till June but the longer you leave it the less harvest (cosecha) you will have. This year we planted the seeds at the end of January and we had our first courgettes at the beginning of May. That’s rather early, normally we don’t start picking them until the last half of the month.
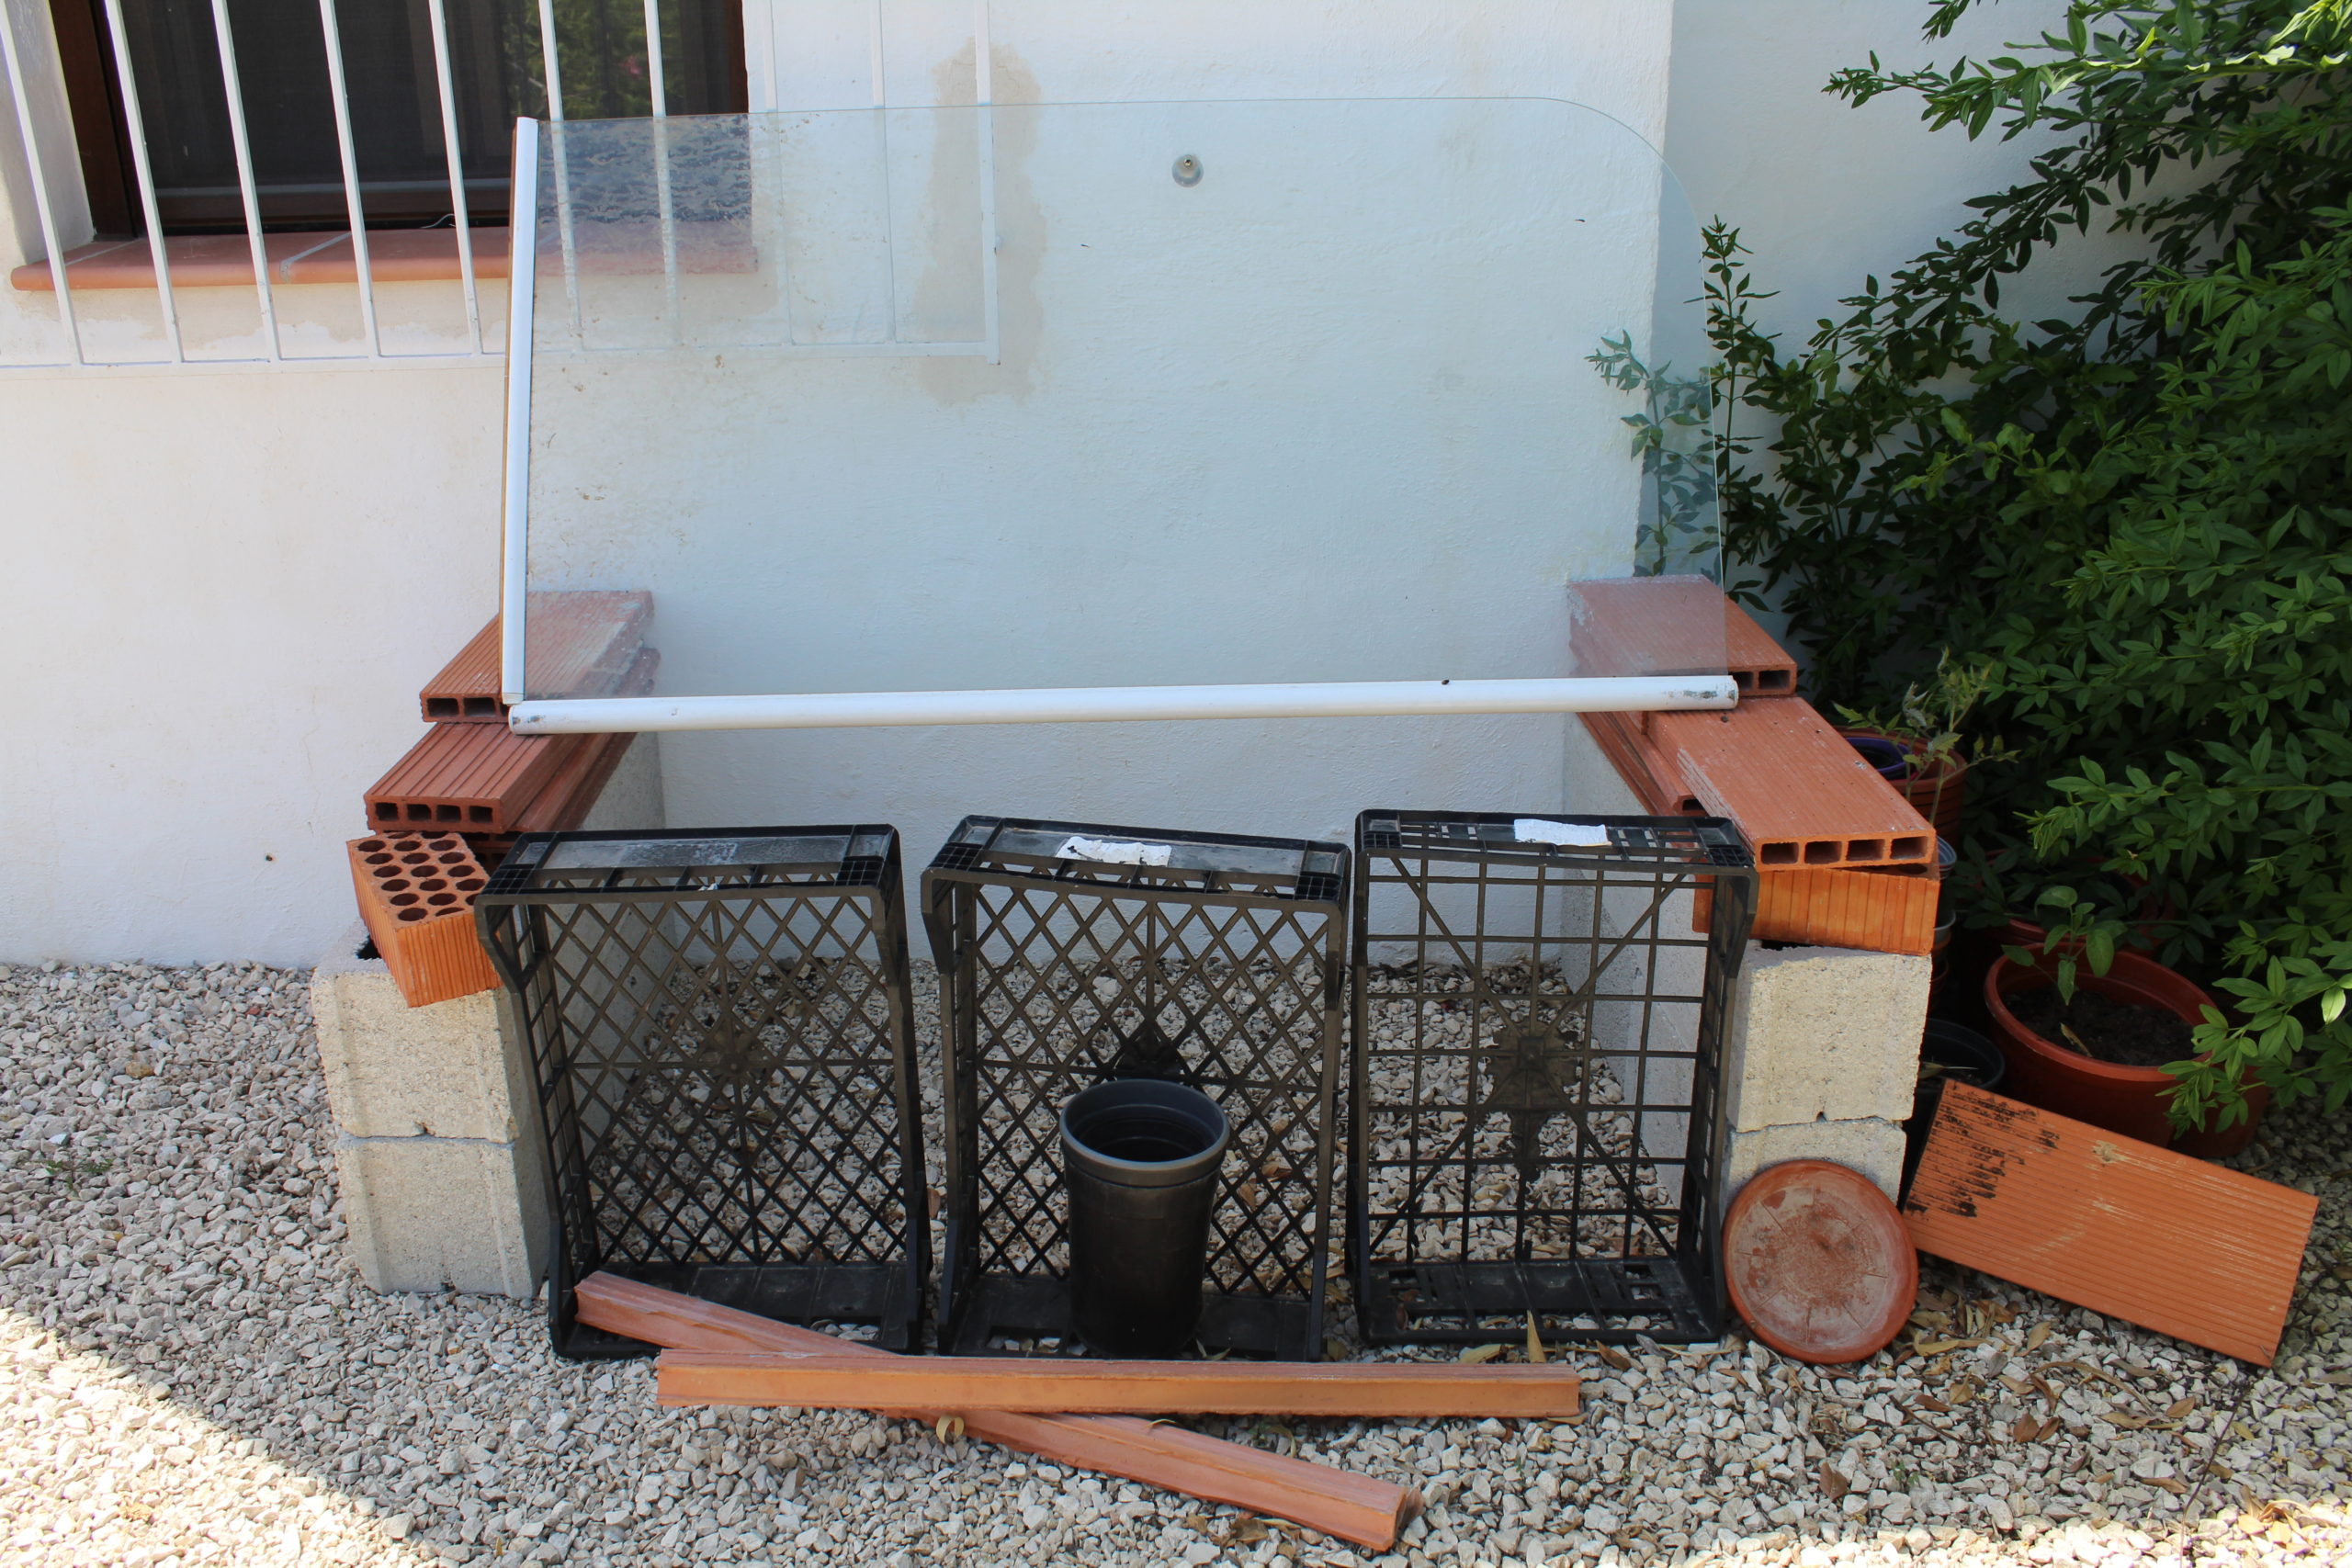
The pot is then placed in a sheltered spot, we make a sort of greenhouse (invernadero) from a few blocks and bricks and an old glass shower door!! Plus some plastic crates to keep the cats out, there’s nothing they like better than digging out the seeds just after they’ve been planted, little buggers.
If we plant them early in the year we don’t water them too much, the soil needs to be damp but not over saturated otherwise they will rot. Obviously it depends on the time of year you plant them as to how much water they will need. The soil should never be dry. Depending on the temperature, they can take from 6 to 10 days to germinate. Once they have sprouted they need leaving in the pots until they reach 10-15 centimetres. That is when they are ready to be planted in the ground, preferably in the afternoon.

Plant them in a nice sunny spot, these plants need sunshine as much as possible. There should be about 80cm to 1 metre between plants, they tend to grow quite a lot and will be more productive that way. It’s better to have 4 plants that are well spaced out than 10 that are all “squashed” together (pun intended). As a fertiliser we use manure, more or less half a “capazo” per hole. This gets mixed in well with the earth before the plants go in. Once you have got them in the ground, cover them with a couple of roof tiles or similar. This will protect them from the sun’s rays for the first few days until they are established. In the picture above you can see we have done this with the tomato plants.

After this process all you need to do is keep them watered and wait for them to grow. They’re a relatively easy plant to look after as long as they have sunshine and water. We set up our watering system (riego por goteo) in May sometime. This year, ’cause of all the rain, we haven’t had to yet, managing with watering them occasionally when it’s been hot, but next week we will be installing it.

Another thing to mention, when the first few courgettes start growing is they often start to rot before they grow. Pep has found that if he leaves them on, the next lot of courgettes that grow are fine. If he removes them, often the following ones will also rot. He’s not sure if it’s a coincidence or not but it’s his decision and he’s sticking to it!
Once the courgettes start growing it’s amazing how big they get in a short amount of time. We have to make sure we pick them every night and occasionally, due to them hiding behind the leaves and stems, we miss one. The next day it’s like a marrow!

Another thing I should mention is the huge amount of courgettes 8 plants can produce. Thankfully Pep has a large family but even so, if anyone has any recipes that use a few kilo, please let me know! We even throw a party each year with our friends called “La Festa Del Carabassí”, The Courgette Party in Valenciano. There is a WhatsApp group to prove it!! And no, we don’t start throwing them at each other like the Tomatina in Buñol, we just cook loads of them on the bbq.
Well, that about sums it up. If you would like to keep seeds from a courgette to plant the following year you need to let one of the courgettes get rather large and too tough to eat. It’s best to do this in the first month of harvesting as the plant is stronger, making for stronger seeds which will then make stronger plants. You must make sure though that the courgette you choose to grow for seeds isn’t touching the ground, it would be too humid and the seeds would most probably rot. Once you pick the tough courgette, leave it for 3-5 days in a dry, shady spot. Once it’s dried out a bit, cut it open and remove the seeds, taking off as much of the pulp as you can, you want the seeds drying as quickly as possible. Leave them on some paper or cardboard for 5 days in the sun, bringing them in at night to avoid the damp. And that’s it. Store them in a dark glass jar until you’re ready to use them the following year.